Wiadomości branżowe


Skontaktuj się
+86-0523-83274900
+86-151 9064 3365
Montaż łączników Victaulic polega na rowkowaniu końców rur zgodnie ze specyfikacją, nasmarowaniu i umieszczeniu uszczelki na końcach rur, umieszczeniu segmentów obudowy wokół złącza tak, aby wpust wewnętrzny weszł w rowek, a następnie włożeniu i równomiernym dokręcaniu śrub, aż segmenty obudowy całkowicie zetkną się z metalem. Proces ten trwa zazwyczaj tylko kilka minut na każde złącze, gdy instalatorzy zapoznają się z kolejnością, co jest głównym powodem stosowania systemów Sprzęgła Victaulic są preferowane w projektach, w których liczy się szybkość montażu i stała jakość połączeń.
Poniższe sekcje szczegółowo opisują każdy etap instalacji, wraz z typowymi błędami, których należy unikać, oraz kontrolami potwierdzającymi, że złącze zostało prawidłowo zmontowane.
Właściwe przygotowanie przed rozpoczęciem montażu jest jednym z najważniejszych czynników zapewniających niezawodne i szczelne połączenie.
Rurę należy przyciąć pod kątem prostym przy użyciu odpowiedniego sprzętu do cięcia, ponieważ nierówne lub pod kątem cięcie może uniemożliwić równomierne uszczelnienie uszczelki na całym obwodzie rury po zmontowaniu złącza.
Koniec rury musi być rowkowany do średnicy i szerokości rowka określonej przez producenta, przy użyciu sprzętu do walcowania rowków w przypadku rur o cieńszych ściankach lub narzędzi do skrawania rowków w przypadku rur o grubych ściankach. Wymiary rowków należy sprawdzić w oparciu o tabelę specyfikacji producenta łącznika dla konkretnego rozmiaru rury i harmonogramu, ponieważ nieprawidłowa głębokość rowka jest jedną z najczęstszych przyczyn awarii złącza podczas prób ciśnieniowych.
Zewnętrzną powierzchnię końca rury, zwłaszcza obszar, w którym uszczelka będzie się stykać, należy oczyścić z brudu, rdzy lub pozostałości produkcyjnych, aby zapewnić, że uszczelka będzie mogła stworzyć kompletne, nieprzerwane uszczelnienie.
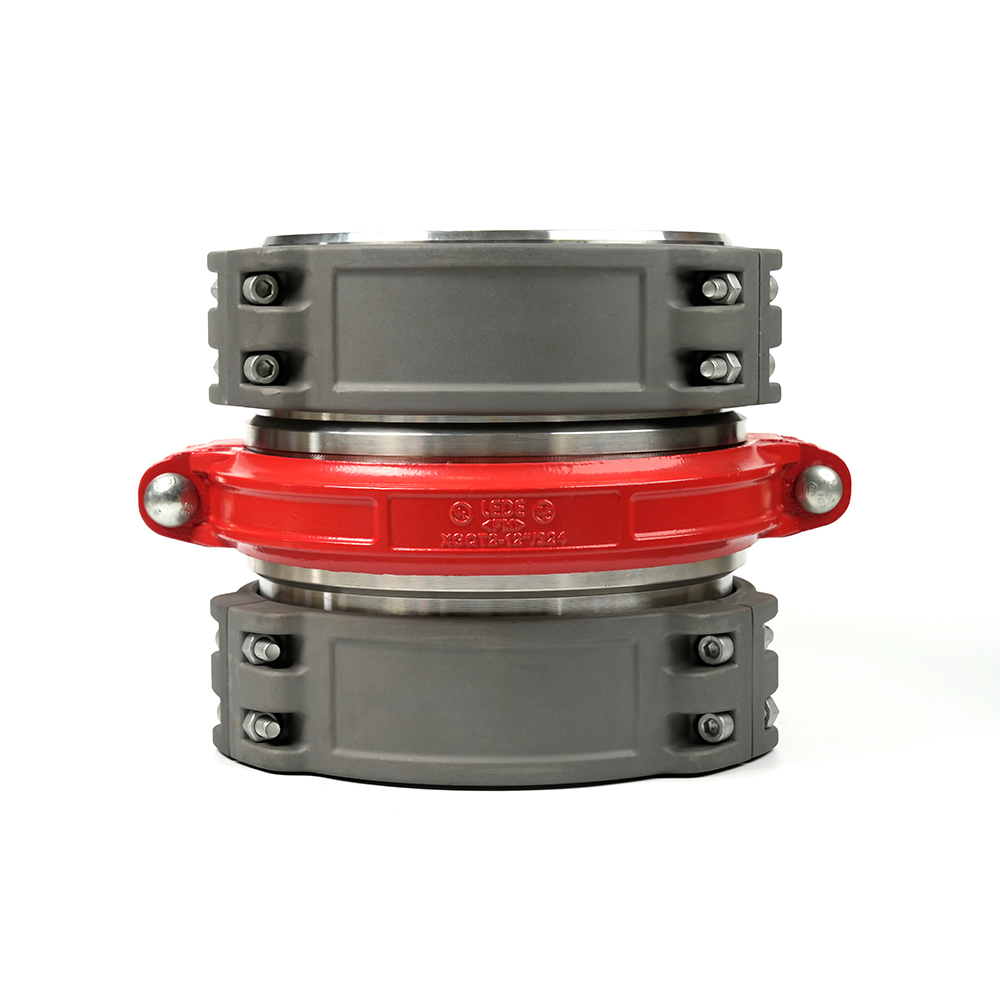
Uszczelka jest głównym elementem uszczelniającym złącza i przed montażem oprawy istotne jest jej prawidłowe umiejscowienie.
Stosowanie odpowiedniego smaru jest ważne, ponieważ niezgodne smary mogą z biegiem czasu powodować degradację niektórych materiałów uszczelek, co może prowadzić do przedwczesnego uszkodzenia uszczelnienia, nawet jeśli początkowy montaż wydaje się udany.
Po prawidłowym umieszczeniu uszczelki montuje się segmenty obudowy, aby zakończyć połączenie mechaniczne.
Każdy segment obudowy zawiera wewnętrzny wpust lub wargę zaprojektowaną do osadzania bezpośrednio w rowku rury. Przed dokręceniem jakichkolwiek śrub instalatorzy powinni upewnić się, że wpust ten jest prawidłowo osadzony na obu końcach rury, ponieważ źle ustawiony wpust uniemożliwi uzyskanie pełnego mechanicznego chwytu złącza.
Śruby są wkładane przez występy obudowy i początkowo dokręcane ręcznie, aby utrzymać obudowę luźno w pozycji podczas sprawdzania końcowego wyrównania, zapobiegając przesunięciu się uszczelki z miejsca przed rozpoczęciem ostatecznego dokręcania.
Ostatni etap dokręcania polega na całkowitym ściśnięciu uszczelki i zablokowaniu wpustu obudowy w rowku rury, co stanowi kluczowy etap dla niezawodności połączenia.
| Krok | Akcja |
| Alternatywny wzór dokręcania | Dokręcaj śruby stopniowo, w naprzemiennej kolejności, zamiast najpierw dokręcać całkowicie jedną stronę |
| Nawet zamknięcie szczeliny | Upewnij się, że oba segmenty obudowy zamykają się równomiernie po obu stronach złącza |
| Kontrola kontaktu metalu z metalem | Sprawdź, czy występy obudowy stykają się ze sobą, potwierdzając pełne dociśnięcie uszczelki |
| Ostateczne potwierdzenie momentu obrotowego | Zastosuj końcowy moment obrotowy zgodnie ze specyfikacją producenta dotyczącą rozmiaru sprzęgła |
Dokręcanie śrub naprzemiennie, podobnie jak dokręcanie nakrętek koła, pomaga zapewnić równomierne ściskanie na całym obwodzie złącza, zamiast powodować nierównomierny nacisk uszczelki, który mógłby prowadzić do miejscowego punktu wycieku.
Za problemy z montażem łącznika często odpowiada kilka błędów, których można uniknąć, a ich świadomość pomaga instalatorom uzyskać niezawodne połączenie już przy pierwszej próbie.
Po instalacji kilka końcowych kontroli pomoże potwierdzić, że złącze zostało prawidłowo zmontowane, zanim system zostanie oddany do użytku.
Przestrzeganie spójnej procedury kontroli po instalacji Sprzęgła Victaulic pomaga wychwycić błędy instalacyjne przed uruchomieniem systemu, co jest znacznie tańsze w naprawie niż usuwanie wycieków po oddaniu systemu do użytku.
Prawidłowy montaż łączników Victaulic sprowadza się do prawidłowego rowkowania rur, starannego umieszczenia i nasmarowania uszczelek, dokładnego ustawienia oprawy oraz równomiernej sekwencji dokręcania śrub, która zapewnia pełny styk metalu z metalem pomiędzy segmentami oprawy. Dokładne przestrzeganie tego procesu, wraz z dokładną kontrolą po instalacji, pomaga zapewnić niezawodne działanie każdego złącza pod ciśnieniem i w warunkach ruchu w układzie przez cały okres jego użytkowania.
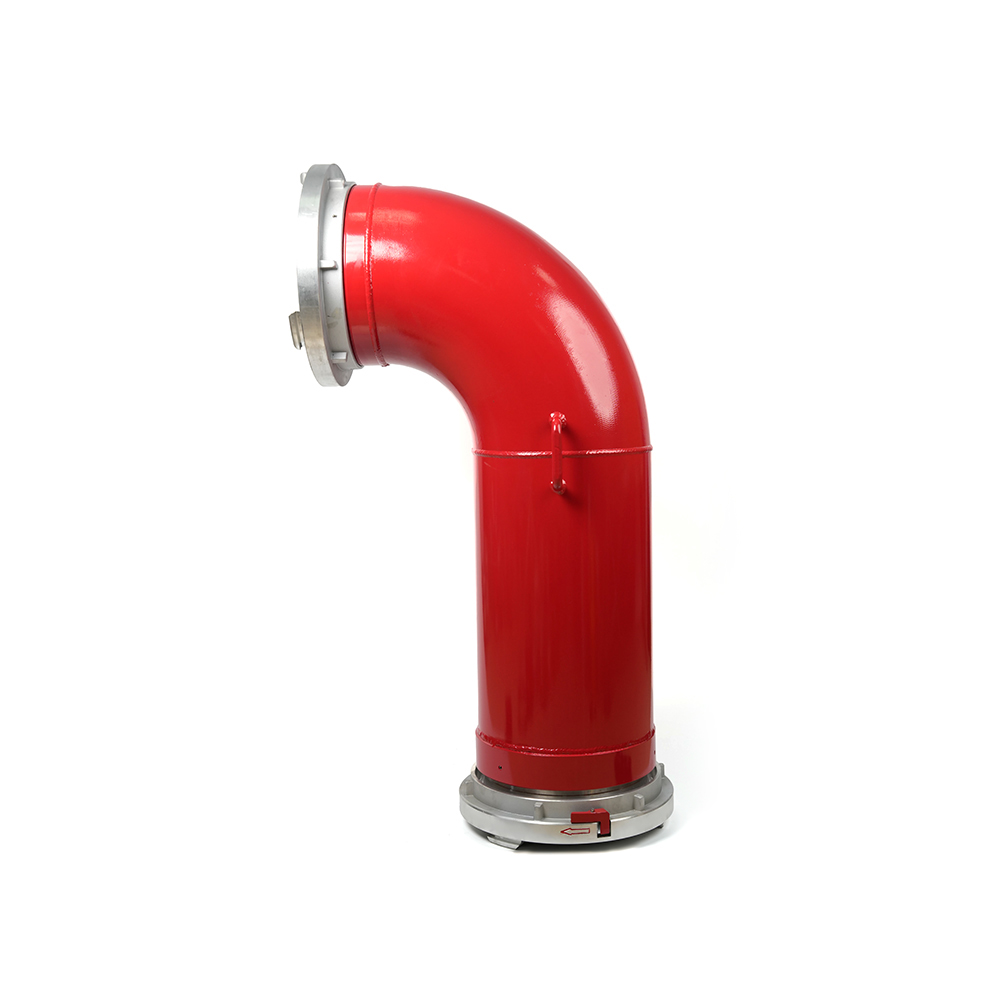 Growated Fire Elbow-Storz
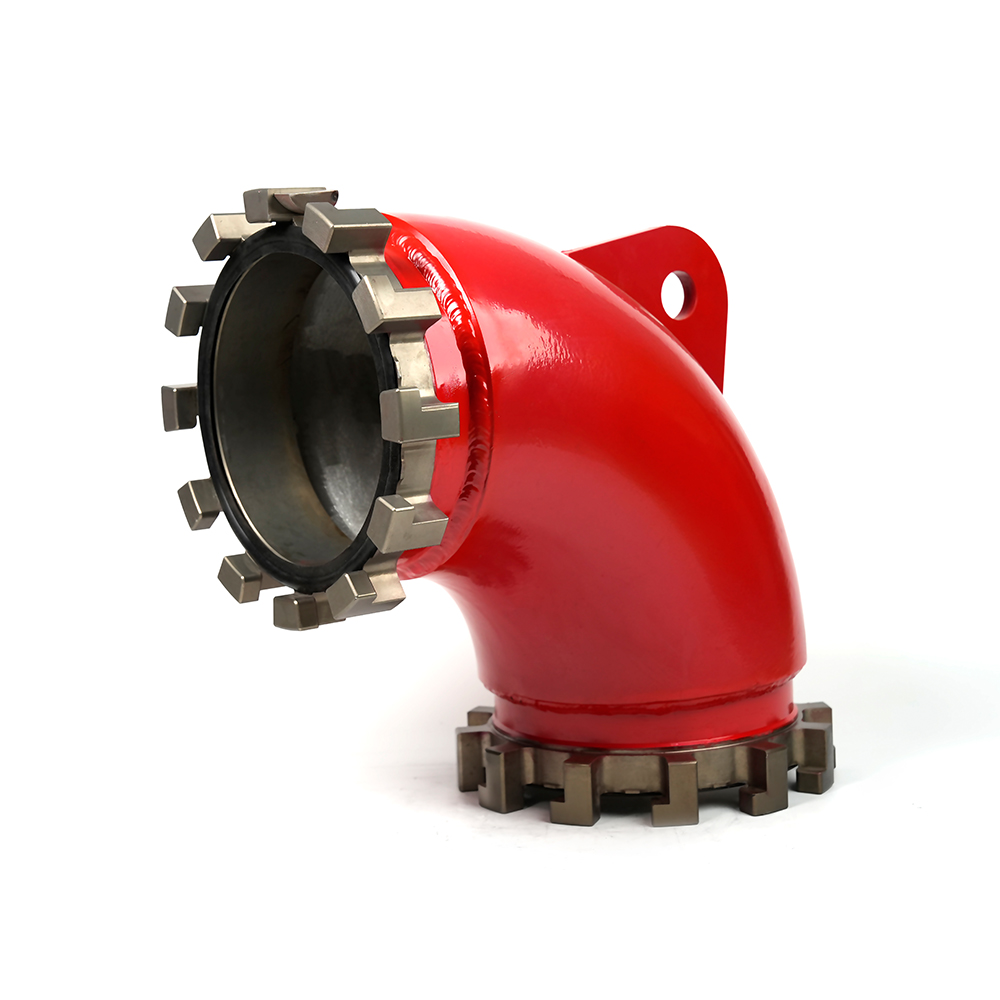 Growated Fire Elbow-Multi-Tooth
 Wielofunkcyjny dystrybutor węża przeciwpożarowego
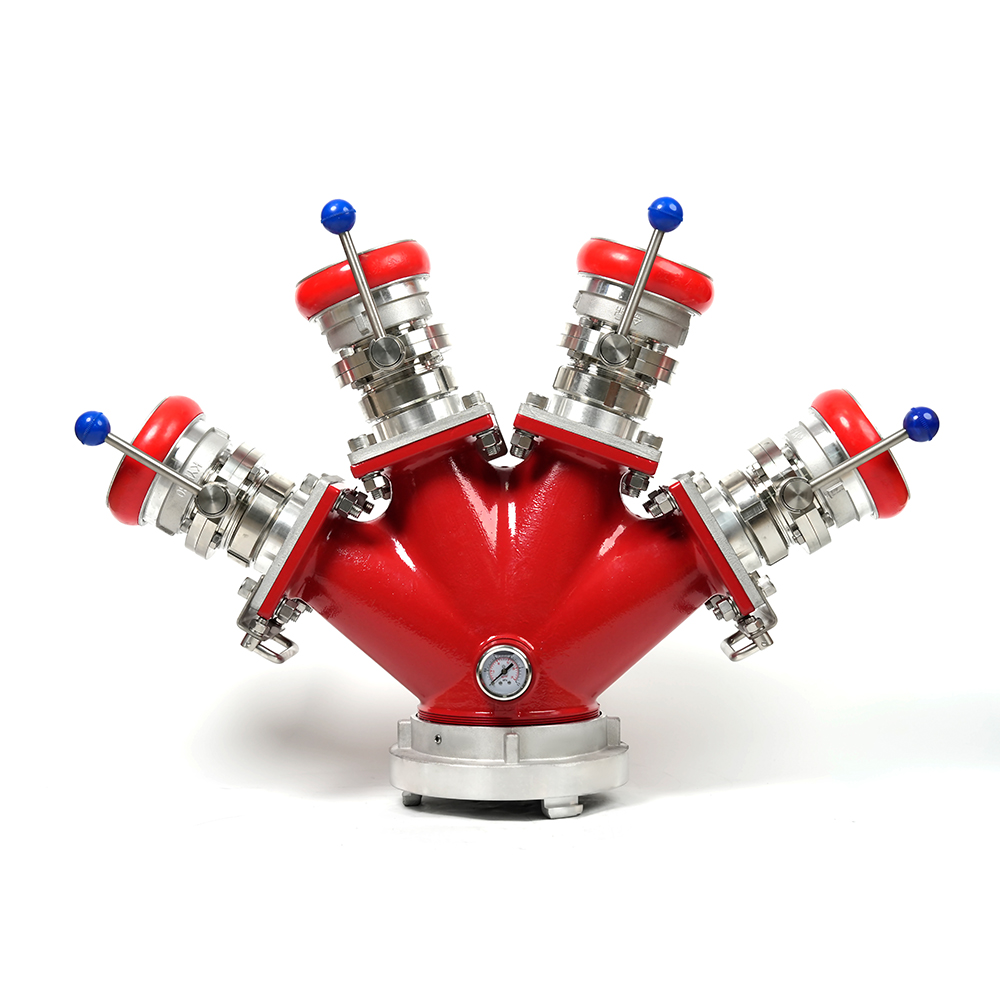 Blokowanie czterokierunkowego dystrybutora węża pożarowego
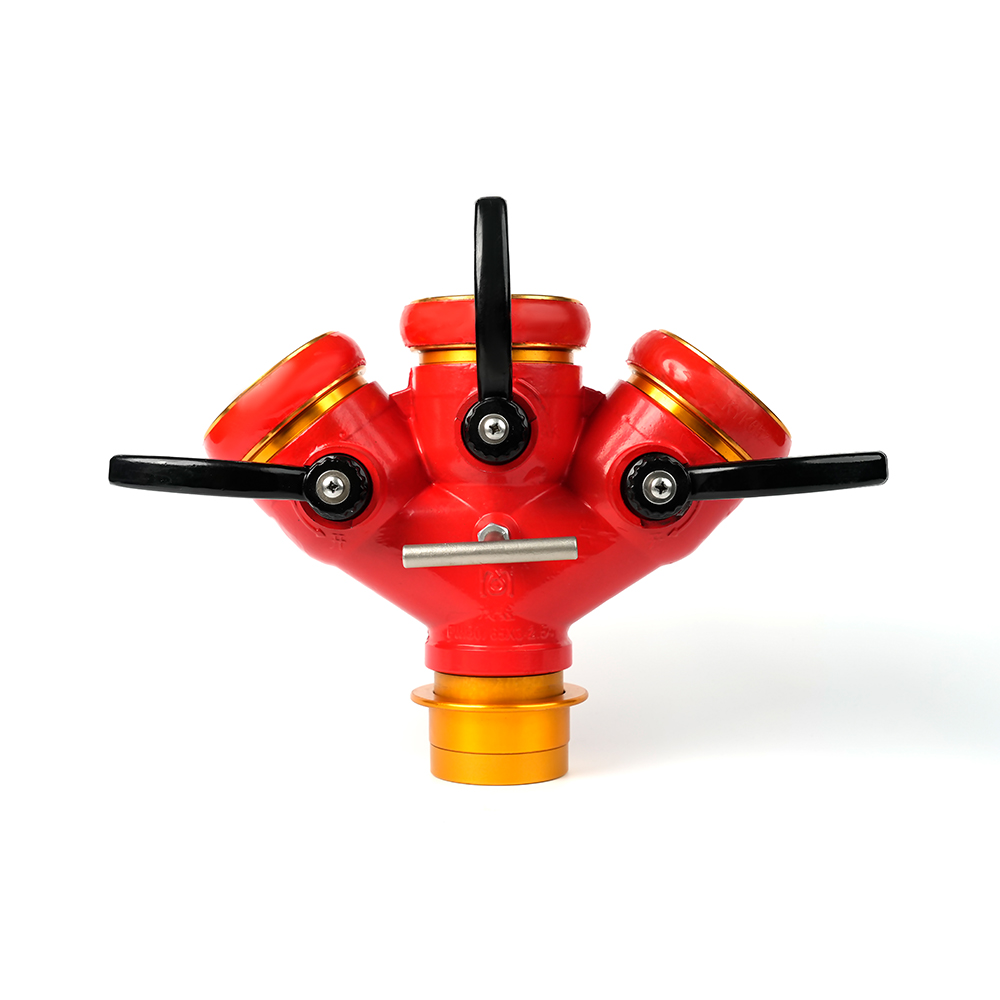 Blokowanie trójstronnego dystrybutora węża pożarowego
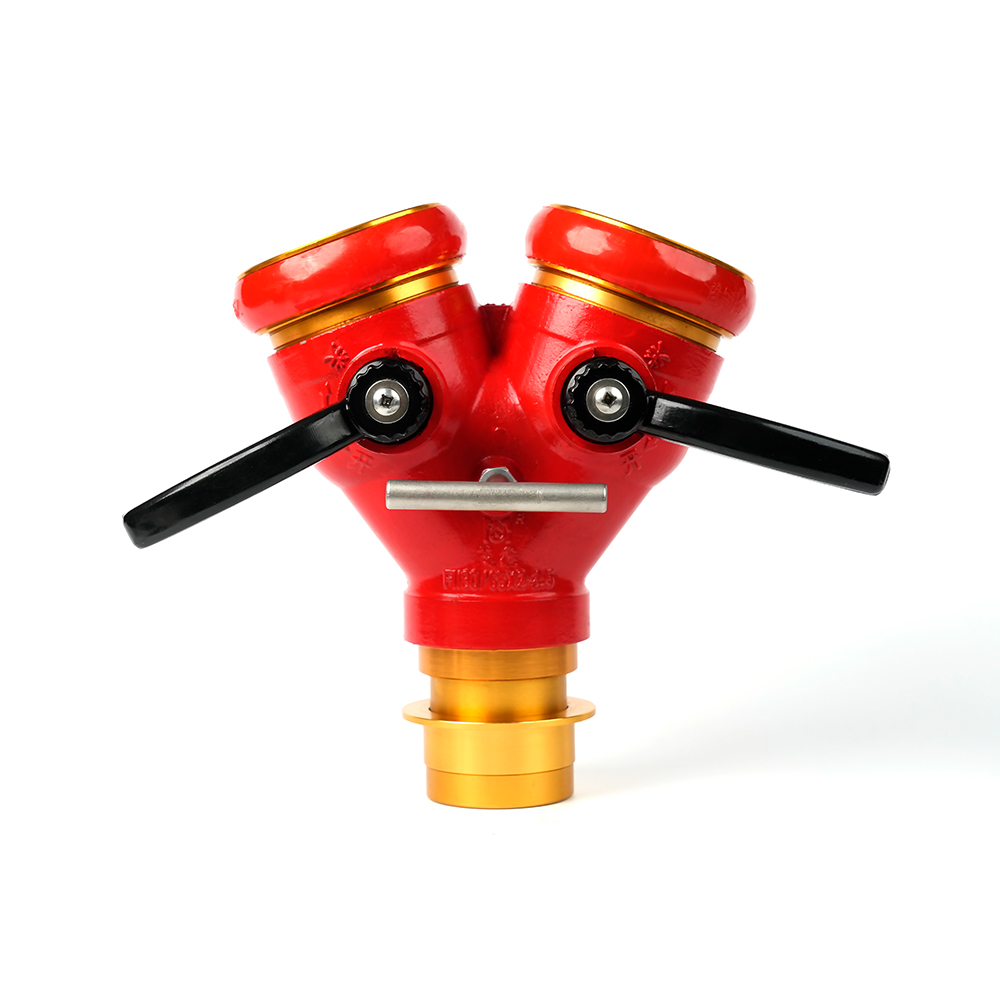 Blokowanie dwukierunkowego dystrybutora węża pożarowego
 Dysza prosta
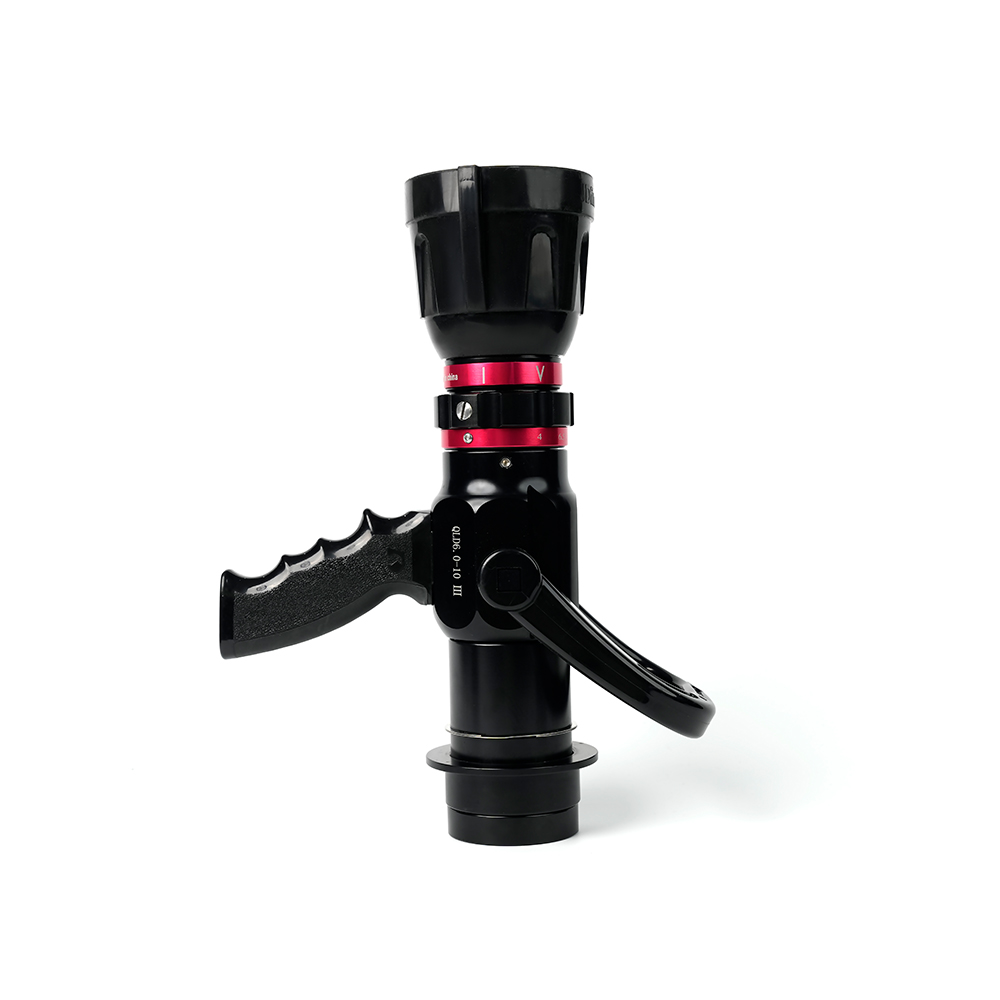 Regulowany machino dyszy
 Regulowany story dyszy
 Sprzężenia adaptera Storz - wielokrotnie zębowe
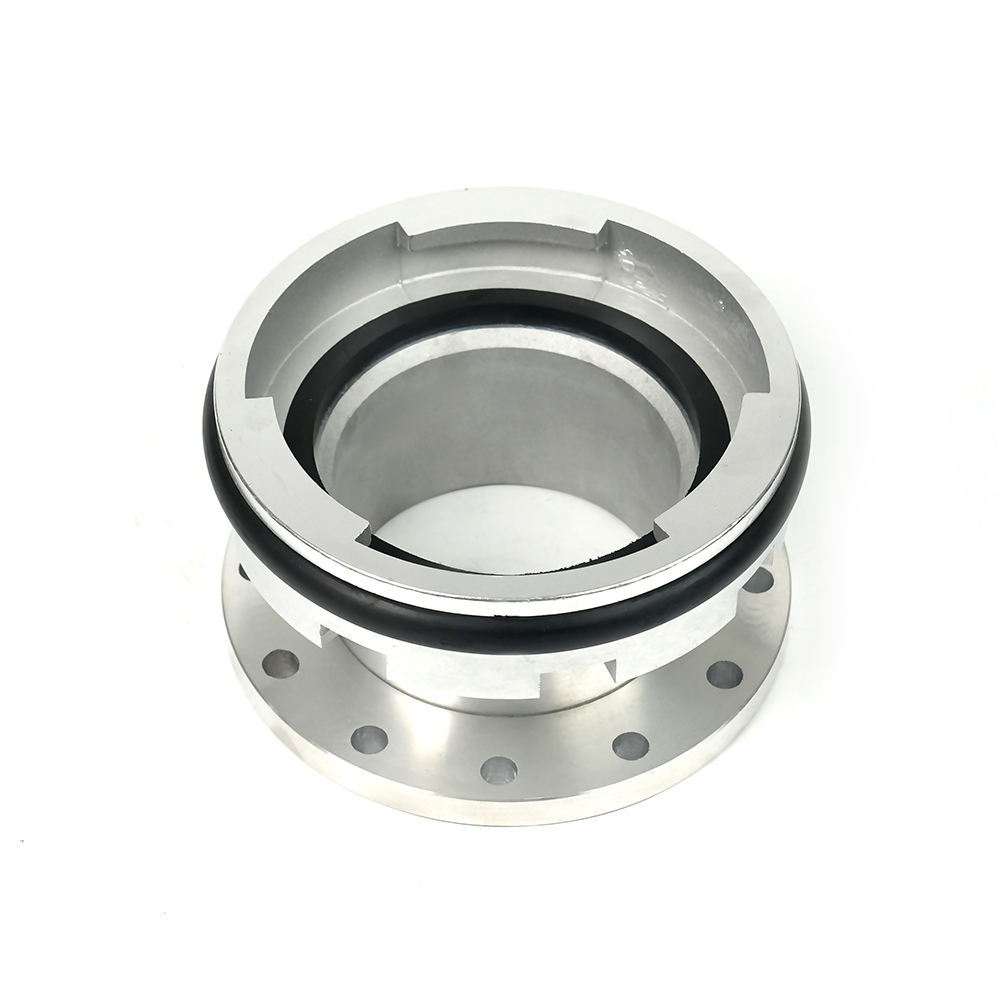 Sprzęty adaptera machino - kołnierz
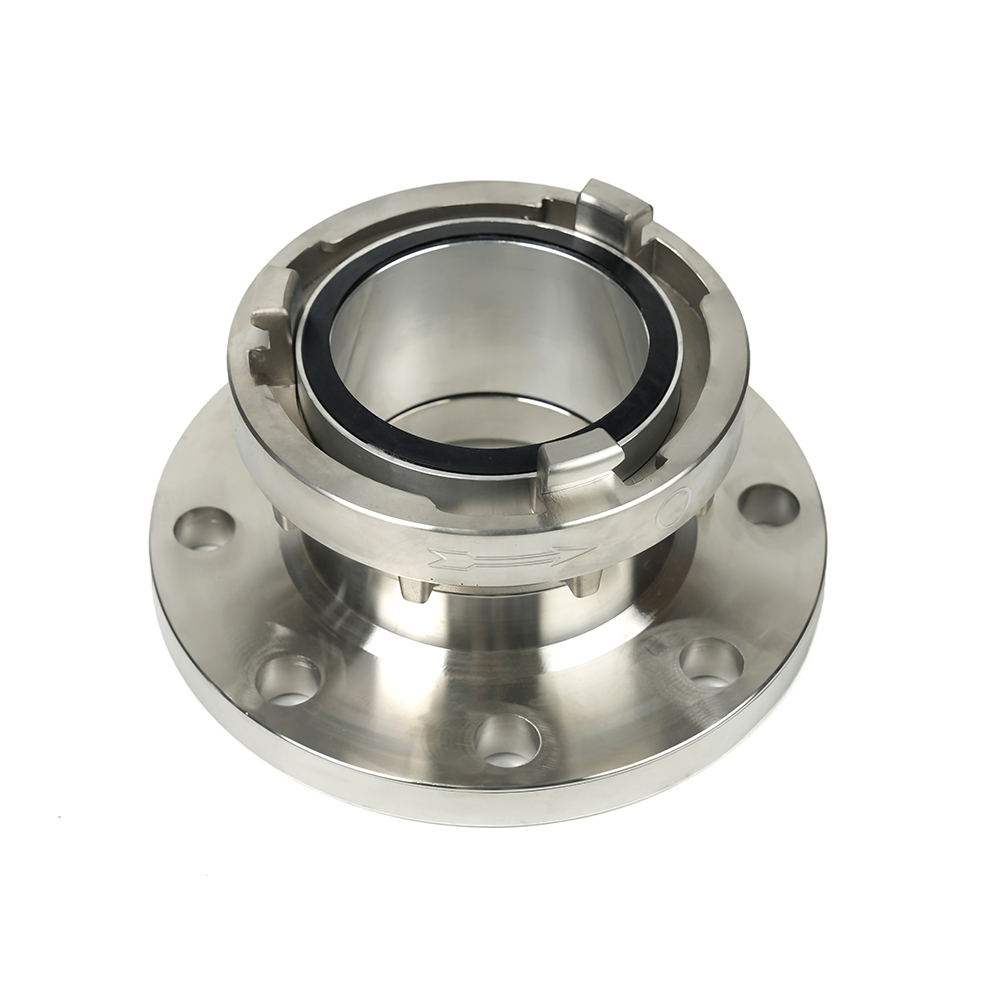 Sprzęty adaptera Storz - kołnierz

 Numer kontaktowy
+86-0523-83274900
+86-151 9064 3365
 Pozwól naszemu zespołowi zaoferować rozwiązania celne.
 Adres firmy
West Side of Hongxing Middle Road, Lincheng Street, strefa rozwoju, Xinghua City, prowincja Jiangsu, Chiny
Copyright @Jiangsu Jinding Fire Protection Technology Co., Ltd. All rights reserved
